Christmas Card Making
Card Making
A Read-Along Activity

It was a bit dull out today, and then it started to rain, so the bears decided today was a good day to make some Christmas cards. Teddy and Custard decided they wanted to make some using a process called 'decoupage'. Literally, this is French and it means 'to cut out'.
First of all you have to have lots of the same picture, in their case Christmassy ones, and the idea is that you start with the full picture as your base on your card, and then you cut out bits of the other pictures and paste them on top of the first one, making a 3D effect.
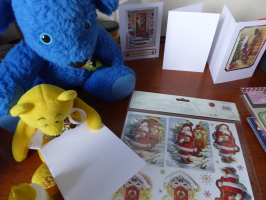
Unfortunately, they didn't have lots of the same pictures, so Teddy and Custard hunted through their craft boxes and found some decoupage kits for making cards. Exactly what they needed!!
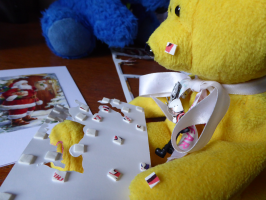
Each kit contained die-cut card with a main picture and then lots of separate bits of the picture to stick on top. Die-cut means that the pictures are already cut out for you and the pieces just need pressing out.
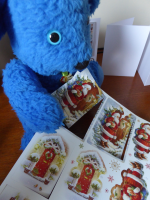
Custard chose the picture he wanted to use - the very Christmassy subject of Father Christmas! He found some card blanks to put the pictures on,

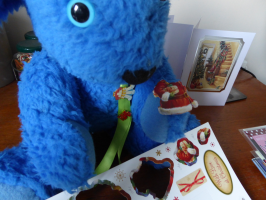
Teddy then pushed out the next picture which he passed to Custard.

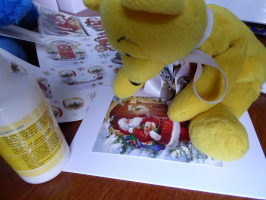
Custard placed these foam pads over the back of the picture, making sure that there were enough all around the edges.
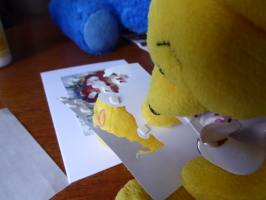
Then he had to very carefully line this picture up with the one underneath, so that it matched exactly. Then he pressed it down to make it stick.
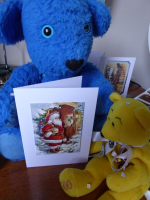
There were about 6 layers of pictures on the card, and it looked almost lifelike when they finally finished.
If you want to have a go at making your own cards, like the bears did, then you will either need to find some die-cut card kits, or, if you are really brave, you could try finding some copies of the same picture and cutting out your own pieces. Christmas wrapping paper would be good to try because that tends to have the same pattern repeated all over it. Or you could stamp a picture all over some plain paper and use that. You will also need some scissors (be very careful when using these) if you are not using die-cut pictures, some glue, and some foam pads. Or for something slightly simpler, download the colouring pages here and make your Christmas cards following the instructions at the end. We bet your friends and family would love to receive home-made Christmas cards from you! Have lots of fun!!